
One of the invisible tools of the Bronze Age metalworker is protective gloves. It’s difficult to work with hot metal without some sort of protective hand gear. Even when using wooden tongs, it’s difficult to keep your hands away from the heat of the furnace. Handling heated stone or clay moulds is also difficult without gloves.
The most popular hand protection is to use commercial welding gloves. They do a good job and are fairly inexpensive. On the other hand when working with students, I have to regard them as being disposable. Someone will inevitably burn the leather, making the fingers stiff and difficult or impossible to work with.
When I was in Moscow for the Times and Epochs Festival, the bronze casters there had a nice alternative: felted wool mittens. They look like something that would have been used in the Bronze Age, do a great job of protecting hands from heat, and are repairable. When I got back to the US I wanted to make myself a pair.
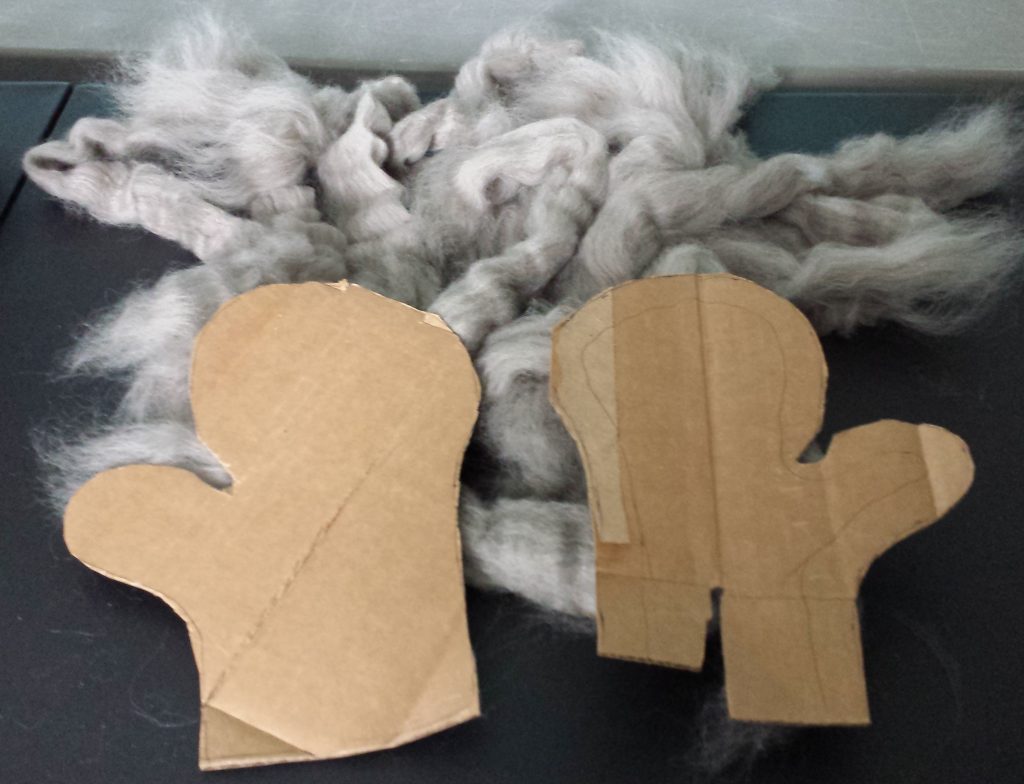
Making the mittens is a fairly straightforward process. Make a pattern out of some heavy cardboard by tracing your hand and adding a couple centimeters all the way around (the wool will shrink). You will need some wool. I bought some roving, wool that’s been cleaned and made ready for spinning, but you could even use wool straight from the sheep. Just make sure that the wool you use is not labeled as ‘superwash’. Superwash wool has been processed to prevent shrinkage. Great if you’re knitting socks, but useless for felting. I have small hands (another advantage, you can make these to fit!) so I used about 170 grams of wool. The only other supplies needed are hot water and a bar of soap. This is a messy process and takes awhile. You’ll need a clean work table in an area where you don’t have to worry about getting the table and the floor wet. Not to mention yourself. My thanks to the staff at StevenBe who let me use their felting room for the process
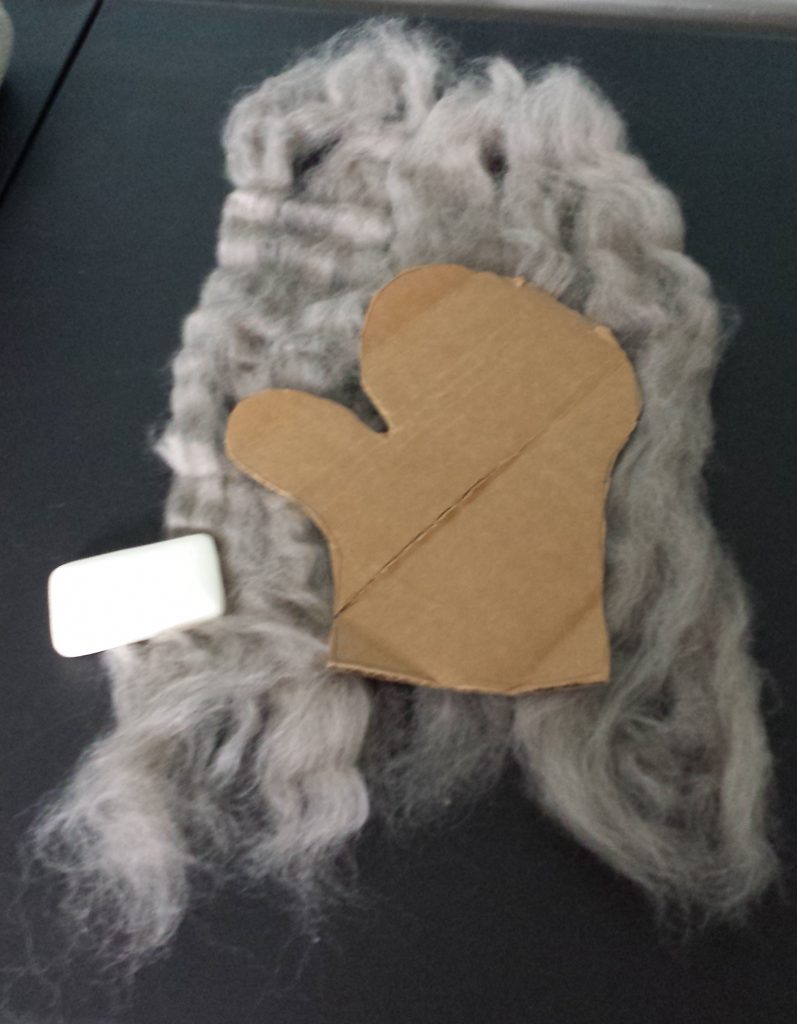
Lay out the wool so there’s enough to fold over the edges and top. Make sure that the bottom stays open. Take off the pattern for the moment and wet the wool with hot water and scrub it with the soap. Get the soap all through the wool. This is going to be messy. Put the pattern back and fold the wool so it is completely covered, except for where your hand goes in. Now, pushing down on the wool scrub it around on the work table, keeping it wet and rubbing in the soap, flipping it over and doing the other side.
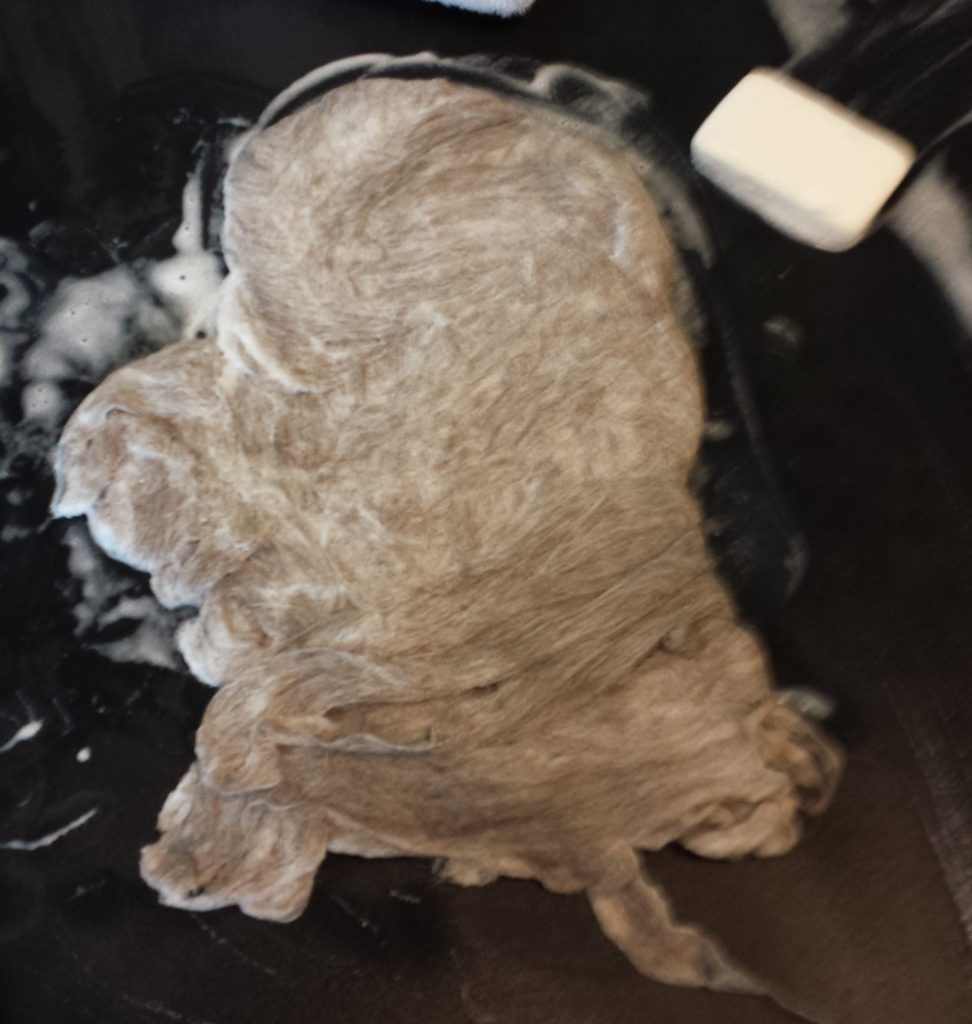
When the first layer is completely wet and starting to hold together, add more wool wrapping it 90 degrees from the first layer. If the first layer was from the top to the bottom, the next layer should be side to side. Keep soaping it up, adding hot water and scrubbing it around. At some point the cardboard is going to start disintegrating, so put your hand in there and scrub from the inside. By now you’re losing the will to live, but keep going.
Felting works because wool has scales, almost like tiny hooks. The action of heat and agitation causes these scales to get tangled and bind to each other. This is why wool sweaters shrink when they get put into a hot washing machine or a dryer.
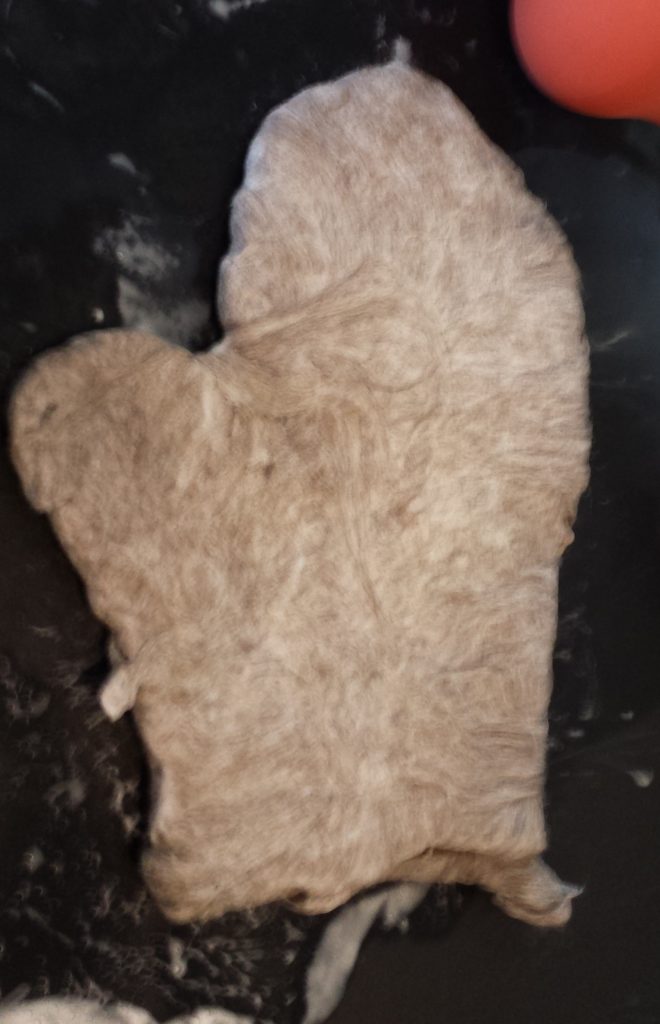
Keep adding layers to the wool until it gets almost as thick as you want it. The wool will compress and get a little thicker when it dries. Once it’s the size and thickness you want, rinse out the soap and let it dry. Drying takes a long time depending on the weather. You can put it in a dryer, but be careful that it doesn’t shrink. A dryer can reduce the size considerably and compress the wool to the point of being dense. If the mitten shrinks too much you can wet it down again and stretch it out some more. You can also put something inside the mitten to keep it from getting too small.
Once it’s done, you can twist it or pound it to get it a little more flexible. There’s nothing to say that you can’t also decorate it