I was invited to cast bronze at an event in Germany, but the catch was that I needed to dress in period costume. The skirt and tunic were easy enough, but I knew that the people there would look at my Iron Age shoes and comment on how anachronistic they were. I know, because it’s happened in the past. There are few Bronze Age shoes that have been preserved, and the most famous were the ones worn by Otzi, the Ice Man whose body was recovered in the Alps in 1991. There are a few websites describing how to make them, including one with a video,
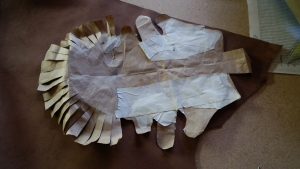
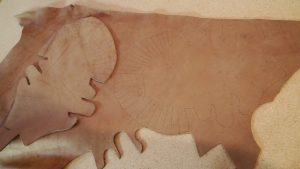
Following the instructions on this website, I cut out a pair of soles from the same leather I used for the Iron Age shoes, and punched holes around the perimeter. I didn’t have leather lacing, so I stitched them with multiple strands of sinew. Then I got some jute cord. This is made from the inner bark of the lime, or basswood tree (tillia sp). It is essentially the same as the cord used for Otzi’s shoes. I cut several lengths and started plaiting and knotting.
I quickly realised that it wasn’t going well. I couldn’t tie the knots while wearing the shoes, so I made a sort of shoe last out of socks. I just wasn’t enjoying the project and it was looking a mess. I just wasn’t getting the measurements right and the shoe was too large.
I just wasn’t producing what I wanted, so it went on the back burner. When it was about a month out from the event, I nagged myself into getting the shoes done. The problem was that I wasn’t happy with how they were turning out. It would be easier if I was making them for someone else, where I could tie the knots while they wore the shoes. It was then that I convinced myself that I didn’t need to slavishly copy this particular shoe. The materials were proper for period, I just needed to find a way to make them so I was happy while using a technique that would be consistent with the Bronze Age. I decided to make a netted upper rather than one that was plaited and knotted. I started over, this time using a single length of cord. I measured off a length that was 5 times the circumference of the sole (note, this finished about half the shoe. On the second one I measured 9 times the circumference and that worked out perfectly).
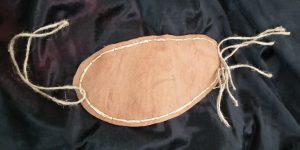
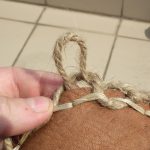
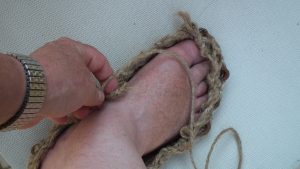
I wove the cord in and out of the sinew, skipping every other stitch and leaving a small loop at the top near the edge of the sole.
Then continuing around, I brought a loop through the loop next to the sole and then threaded the cord through that to make a knot. It was easily adjustable.
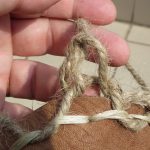
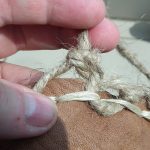
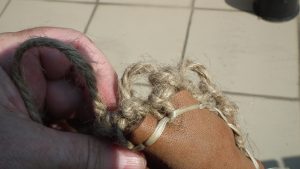
I made the first round fairly tight so that it would pull the sole up around my foot. I did the same for the second round.
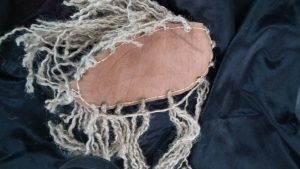
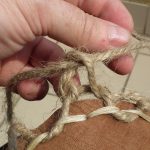
On the third round I made the loops larger because I wanted a netted effect. If I wanted, could continue making the loops smaller that would result in a denser fabric. At this point it was easy to work on the shoe while wearing it.
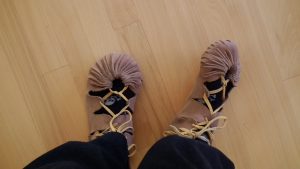
After a couple more rounds I started making the loops even larger. I brought the cord around the front of my ankle, looping the cord between it and the loops closer to my toes.
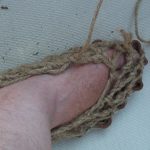
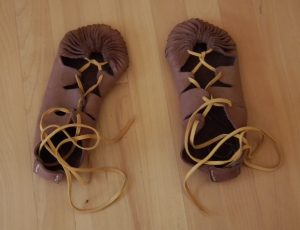
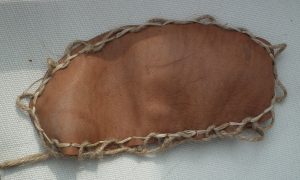
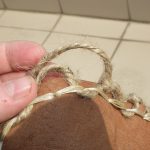
By this time I was essentially done. It took me about three hours for both shoes, working at a relaxed pace. I had a fair amount of cord left over, so I wound that around the top cord of the shoe to reinforce the opening and to give it a bit more of a finished look.

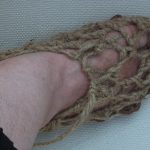
The finished shoes
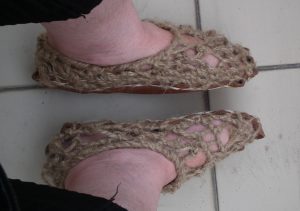
I made this pair fairly tight because I figure that both the leather and cord will stretch over time. Still, they are easy to slip on and off, and are comfortable for walking. I could make some leather uppers to go over the netting. Otzi’s shoes had that, although there is debate as to whether the leather was on top of, or under the cording. A project for the future is to learn nålebinding to make some socks.