I was visiting my sister in the autumn of 2016. She has a bit of land just outside Albuquerque, New Mexico, so I asked her if I could build a furnace and do some casting there. I’ve built plenty of pit furnaces, so this time I wanted to build one that was above ground and a bit more visible. It would also mean that no one would trip and fall if they forgot where I put the thing.
The first task was to get the basic materials: Clay, Sand, and Horse Manure.
I thought that the clay would be the biggest hurdle. However my sister’s neighbour happened to be a sculptor who works in both iron and ceramics. She went to her regular clay supplier and got a couple feed sacks full of dried clay for free. Potters who work at wheels, or work with students end up with a lot of clay that is scraped off of workbenches and wheels that is hard to re-use. It often has a mixed consistency, it’s lumpy or part dried. If they want to use the clay again, it has to be reconditioned. So, they take their sacks of scrap back to the place where they buy the clay and pay to have it put through the mill. Since it’s not really usable, some potters are willing to just give it away. So thanks to Liz Fritzsche, who does amazing and beautiful work in porcelain, I was able to get started.
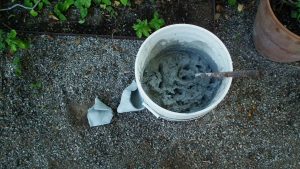
I threw some of the dried clay into a five gallon bucket and poured in enough water to cover the clay and let it sit. It was squishy and workable in a few hours. Next up was locating horse manure. A friend of a friend has horses, and they were grateful to have someone who would haul away a couple of barn buckets full of manure. The final bit was the sand. My sister did have some beach sand that she’d bought for the garden, but I was more fascinated by the soil there. Her land is in the old Rio Grande River Valley, and the soil is a mixture of silty sand and a little clay that had been pounded to a powder. The soil was almost the consistency of dust. It mixed in perfectly and later I found the mixture was highly resistant to cracking.
The ingredients were mixed with some water, stomped, and the proportions were adjusted until it was perfect. New Mexico is a lot drier than England, so I ended up adding more water than usual as I worked. It was also nice knowing that it was unlikely for any rain to fall while I was working.
The silt/clay/dung mixture made a durable clay, and after I flew back to Minneapolis, I was please that the crucibles and moulds I packed in my check-in luggage survived airport handling.
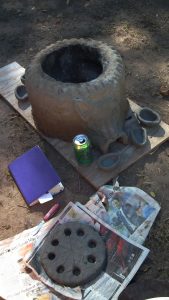
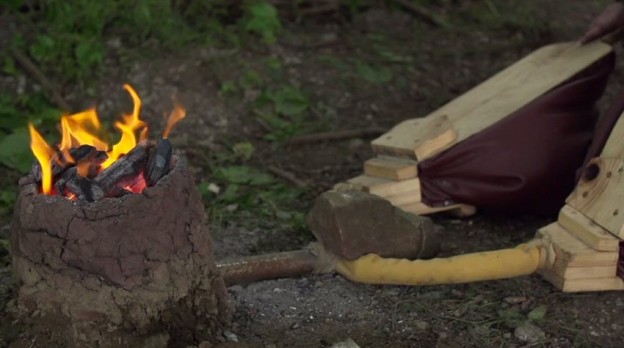
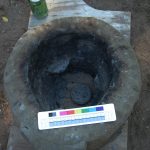
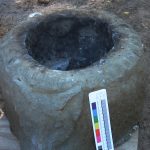
The furnace walls are about 8 cm wide (about the width of my palm) and the inside diameter is about 25 cm in diameter. I let it dry for a couple days and then moved it over to an unused area behind a greenhouse where I would have more room to work. I set a small fire with cottonwood branches, fed it for a couple hours, and then let it die out overnight.

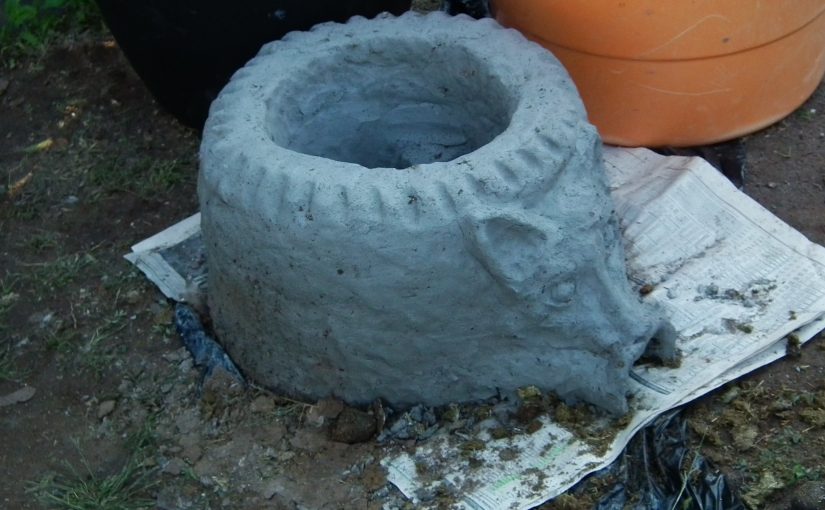
We all like to put some decoration on our furnaces. My students have done everything from dragons to turtles to cats. I had been thinking about doing some decorations imitating the local petroglyphs, but as I was working it just seemed natural to do a portrait of Mavis, my sister’s exuberant German Shepherd.
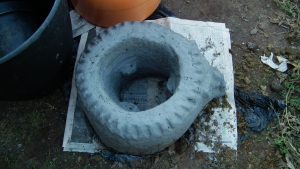
Finally I adjusted the mix to have a bit more of the silty sand and horse dung to make the teapot stand and crucibles. For more information about teapot stands and how they work in furnaces, check out my article on the Umha Aois website here.
Later I added more water to make the slip for dipping waxes in for the first stages of mould making. The silt made a wonderfully fine mould that picked up all the details. Honestly, this mix was as good as jeweller’s investment for picking up detail.
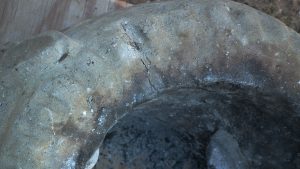
I had some cracking on the upper part of the furnace, and noted that the part that cracked was where I used the commercial sand. The silty New Mexico soil held up much better. If it weren’t so heavy (and probably not allowed) I would have hauled bags of the soil on the plane home to use for more projects.
Both Mavises performed very well (Mavis the Dog is into barrel racing and advanced obedience classes). I’ll be interested to see how it holds up over the winter. Winters in New Mexico tend to be mild, so I’m hoping that the Mavis furnace will be available for friends in Albuquerque to use for some time to come.